
Building or upgrading an off-road vehicle requires careful consideration of every component in the drivetrain and chassis. Among the most critical choices are the off road suspension parts that determine how your vehicle handles impacts, articulates over obstacles, and maintains control on unpredictable terrain. For newcomers to off-road fabrication, navigating the myriad of options—from link kits to rod ends—can be daunting. This guide provides a foundational overview of key suspension components, their functions, and how to select them based on your vehicle's intended use, helping you build a system that balances performance, durability, and safety.
Understanding Your Vehicle's Needs and Terrain
The first step in selecting parts is defining the vehicle's primary purpose. A rig built for high-speed desert running has different requirements than one designed for slow, technical rock crawling. Rock crawler suspension parts, for instance, prioritize maximum axle articulation and extreme strength to withstand direct impacts with rocks. A vehicle intended for overlanding may prioritize ride comfort and reliability over extreme travel. Understanding the primary use case guides decisions on suspension type (e.g., leaf spring vs. coil-over vs. 4 link suspension kit), travel requirements, and the necessary strength grade for all connecting components.
The Backbone: Link Kits and Suspension Geometry
For those moving beyond leaf springs, link-based suspension systems offer superior adjustability and performance. A rock crawler 4 link kit uses four rigid bars to locate a solid axle, allowing for controlled vertical travel while preventing axle wrap. The geometry—the angles and lengths of these links—is crucial. It determines the vehicle's roll center, anti-squat behavior, and how the axle moves through its arc. Selecting a well-designed kit or planning a custom geometry is the most important engineering step. This system relies entirely on the strength of its pivot points, making the choice of joints the next critical decision.
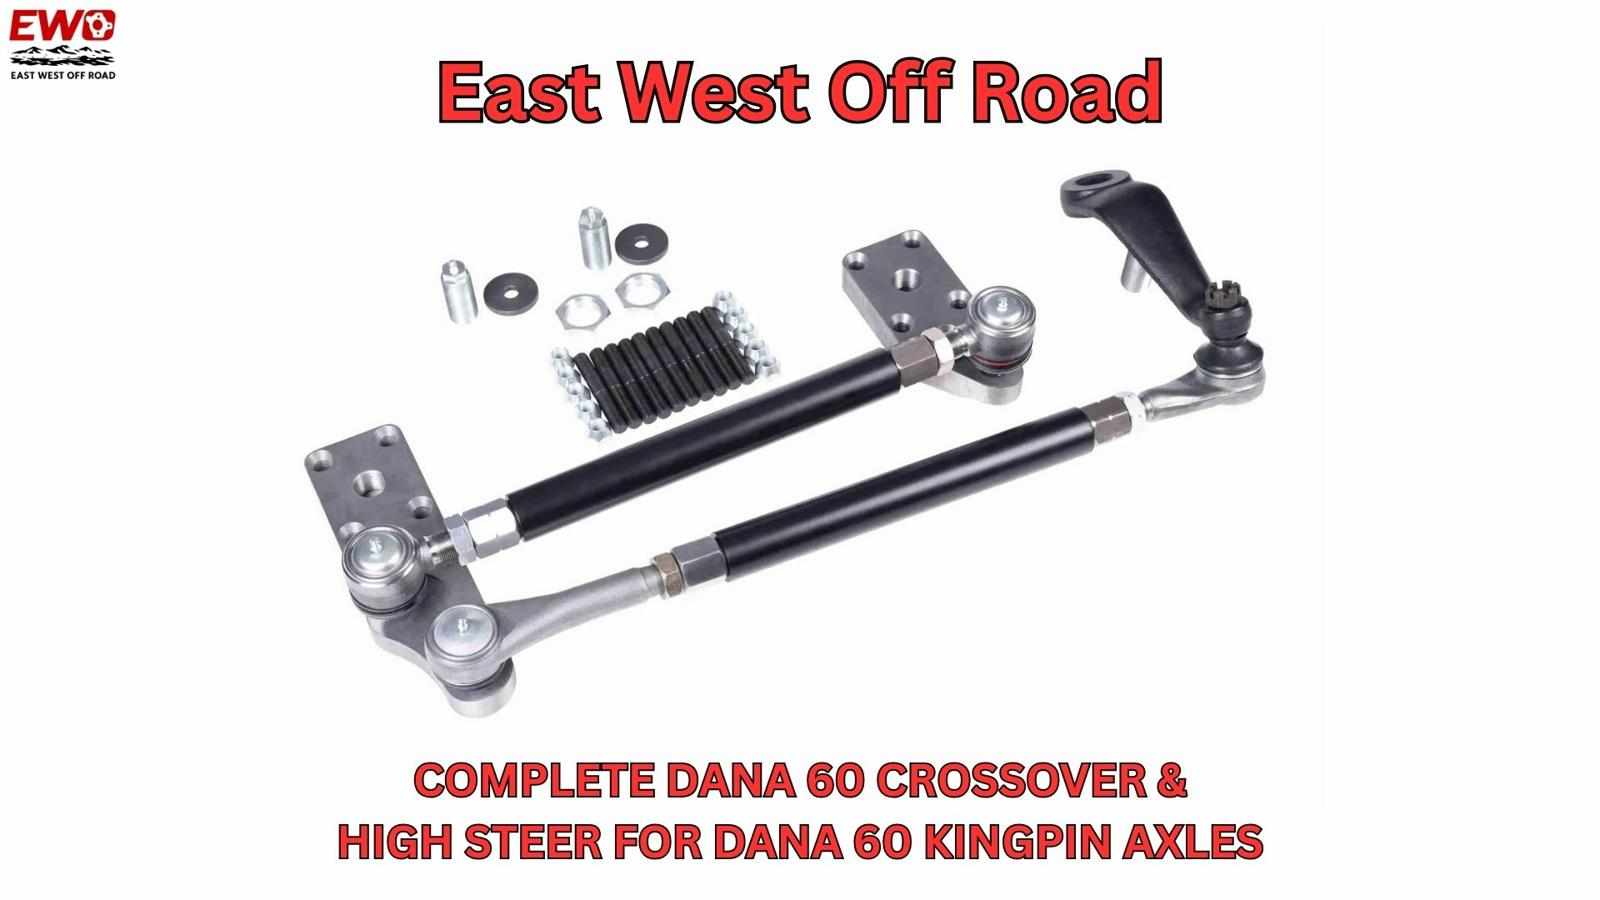
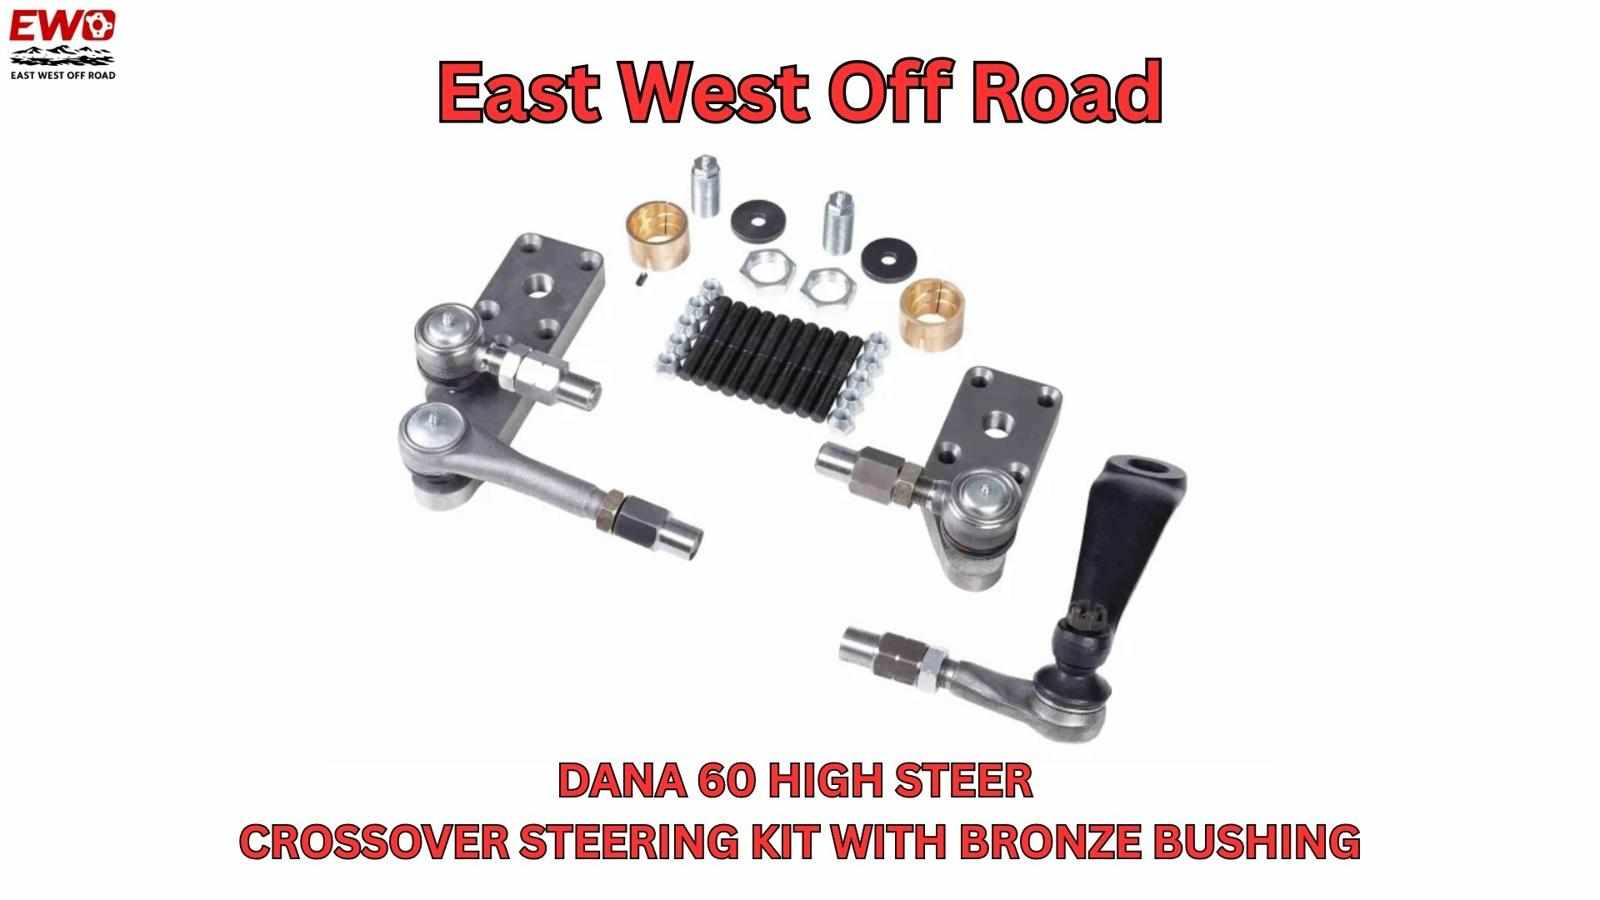
The Pivotal Point: Heim Joints vs. Tie Rod Ends
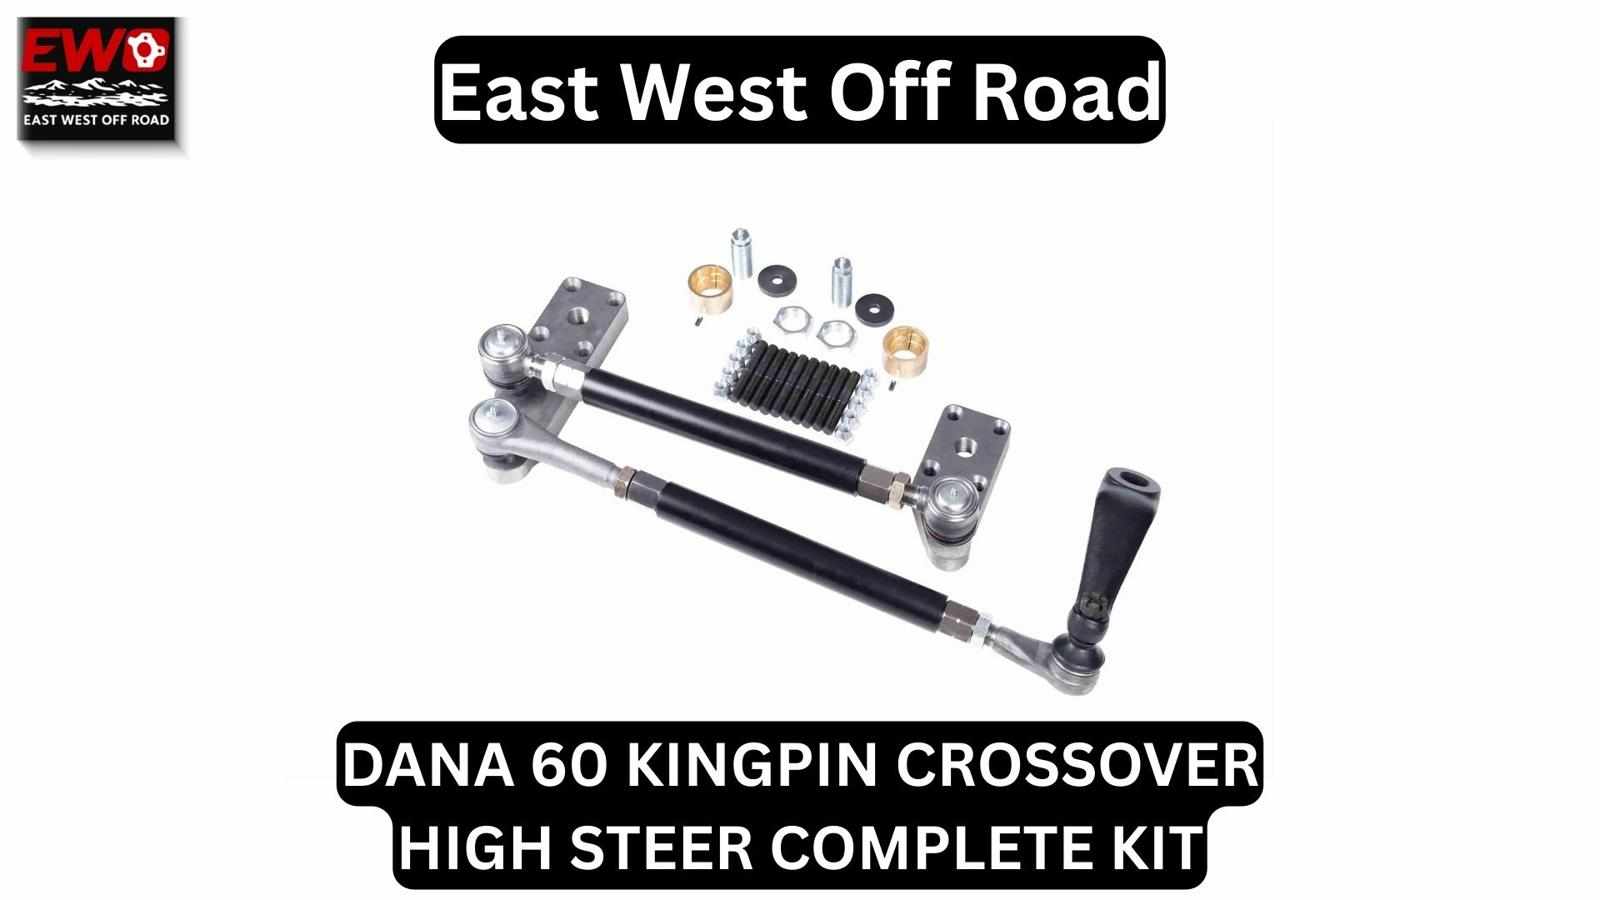
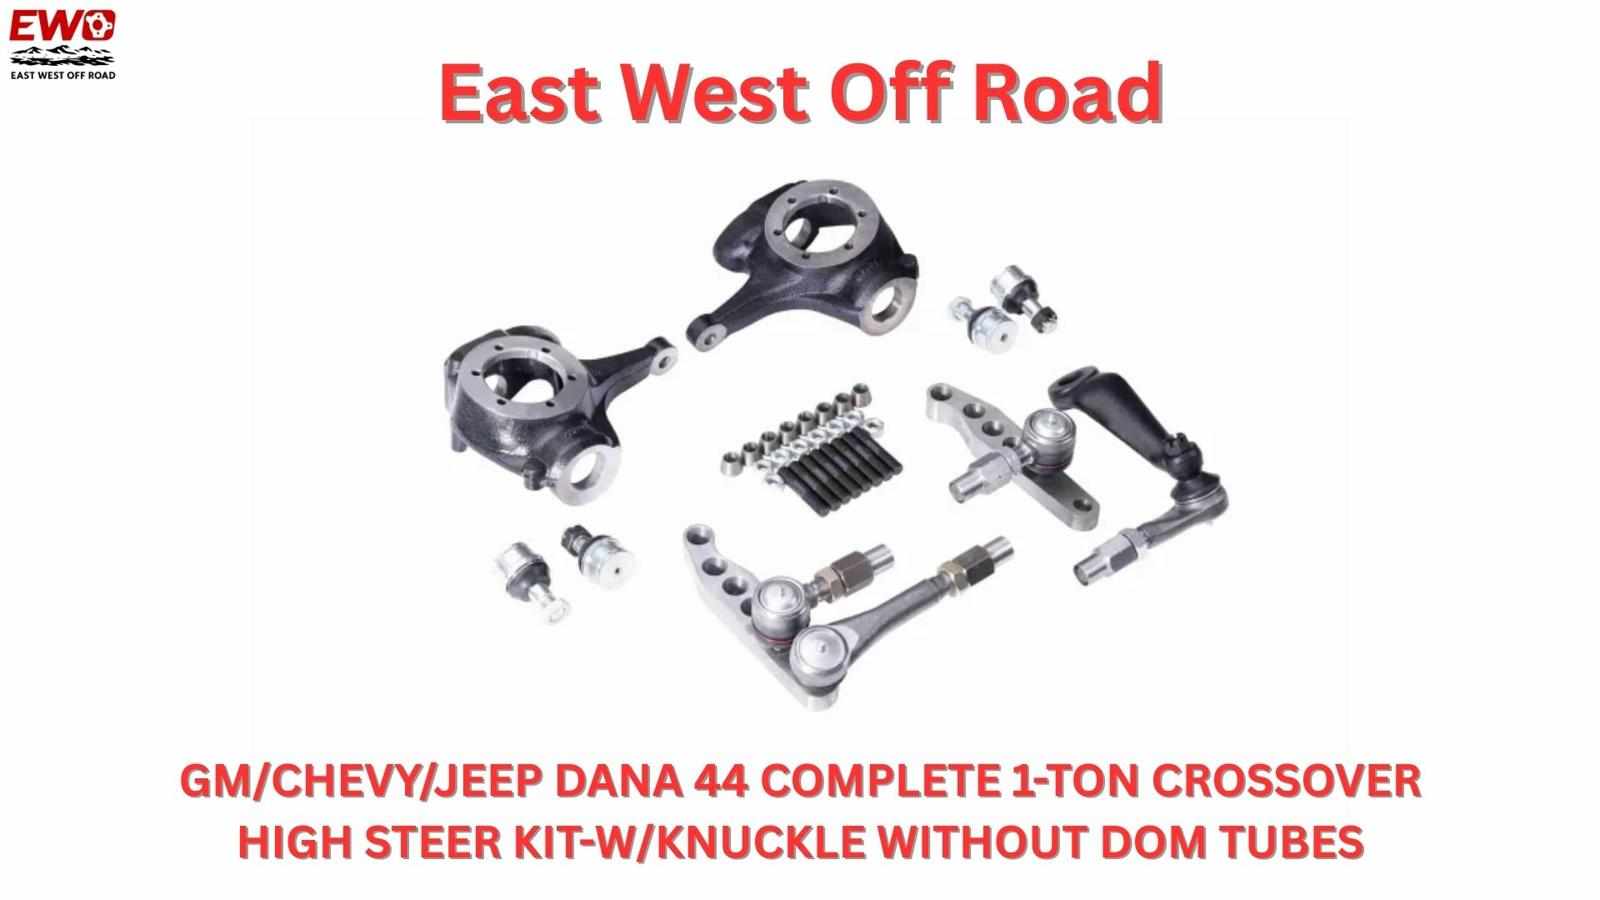
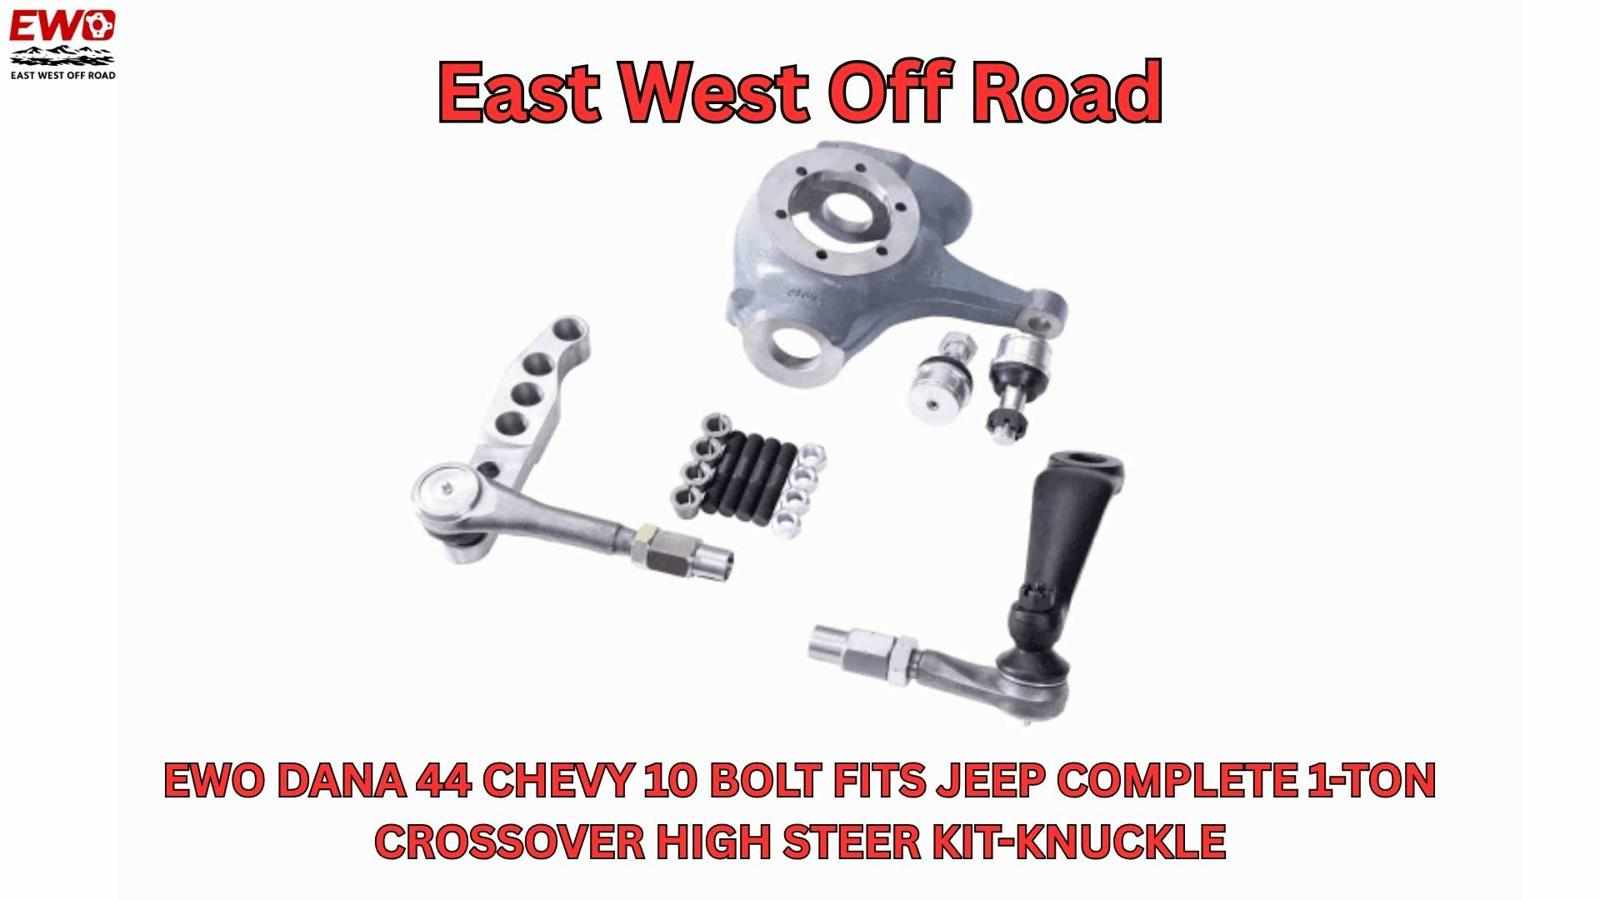
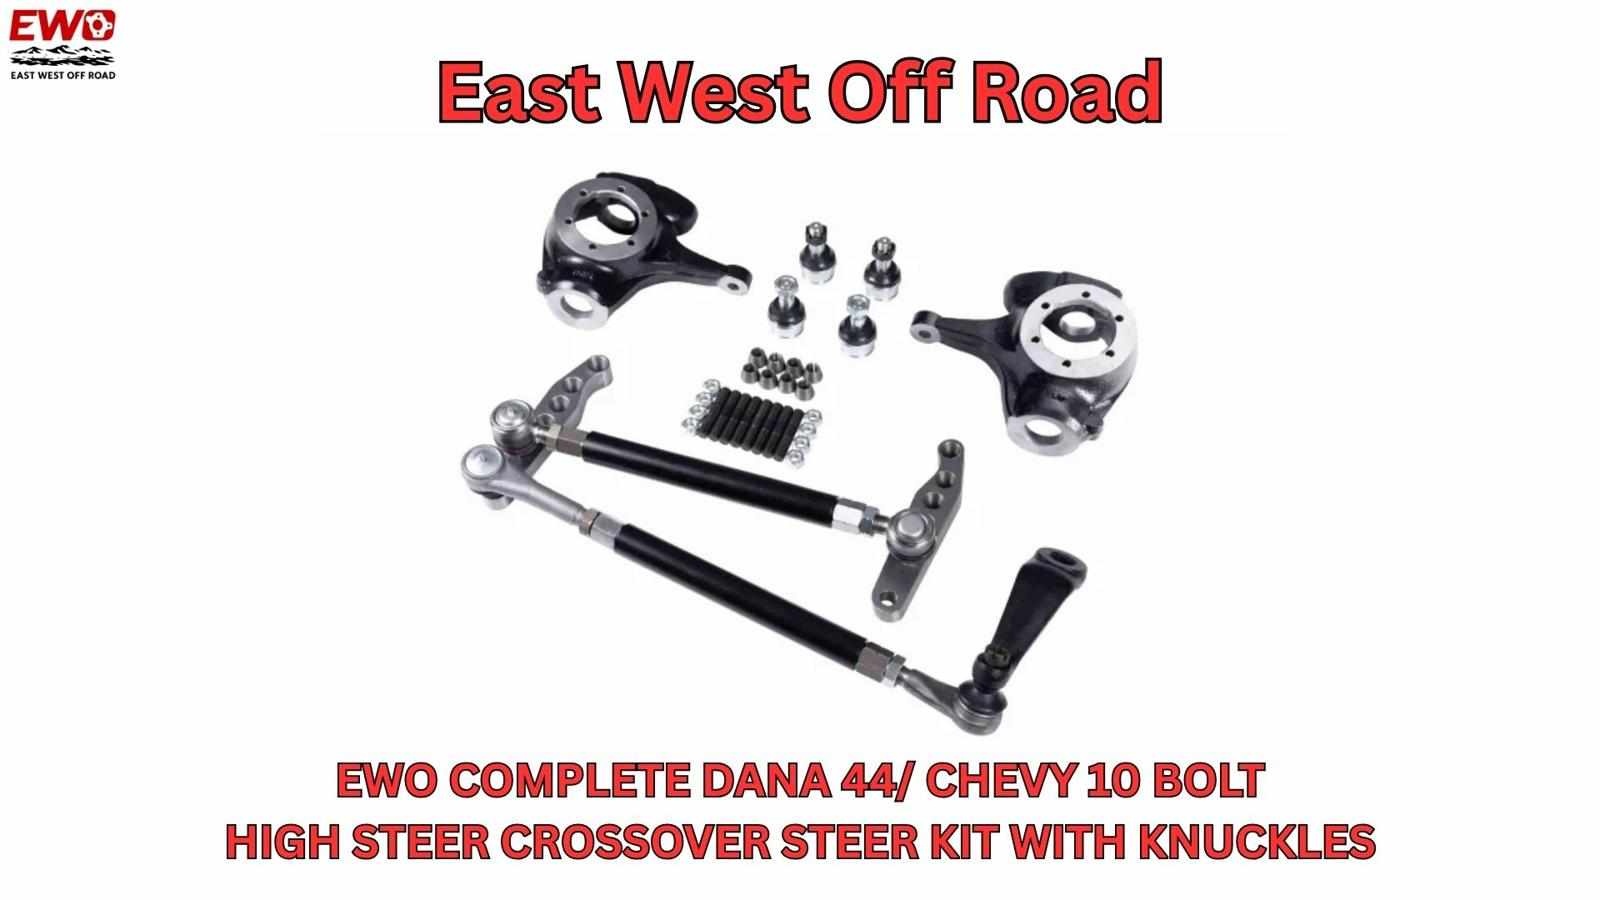
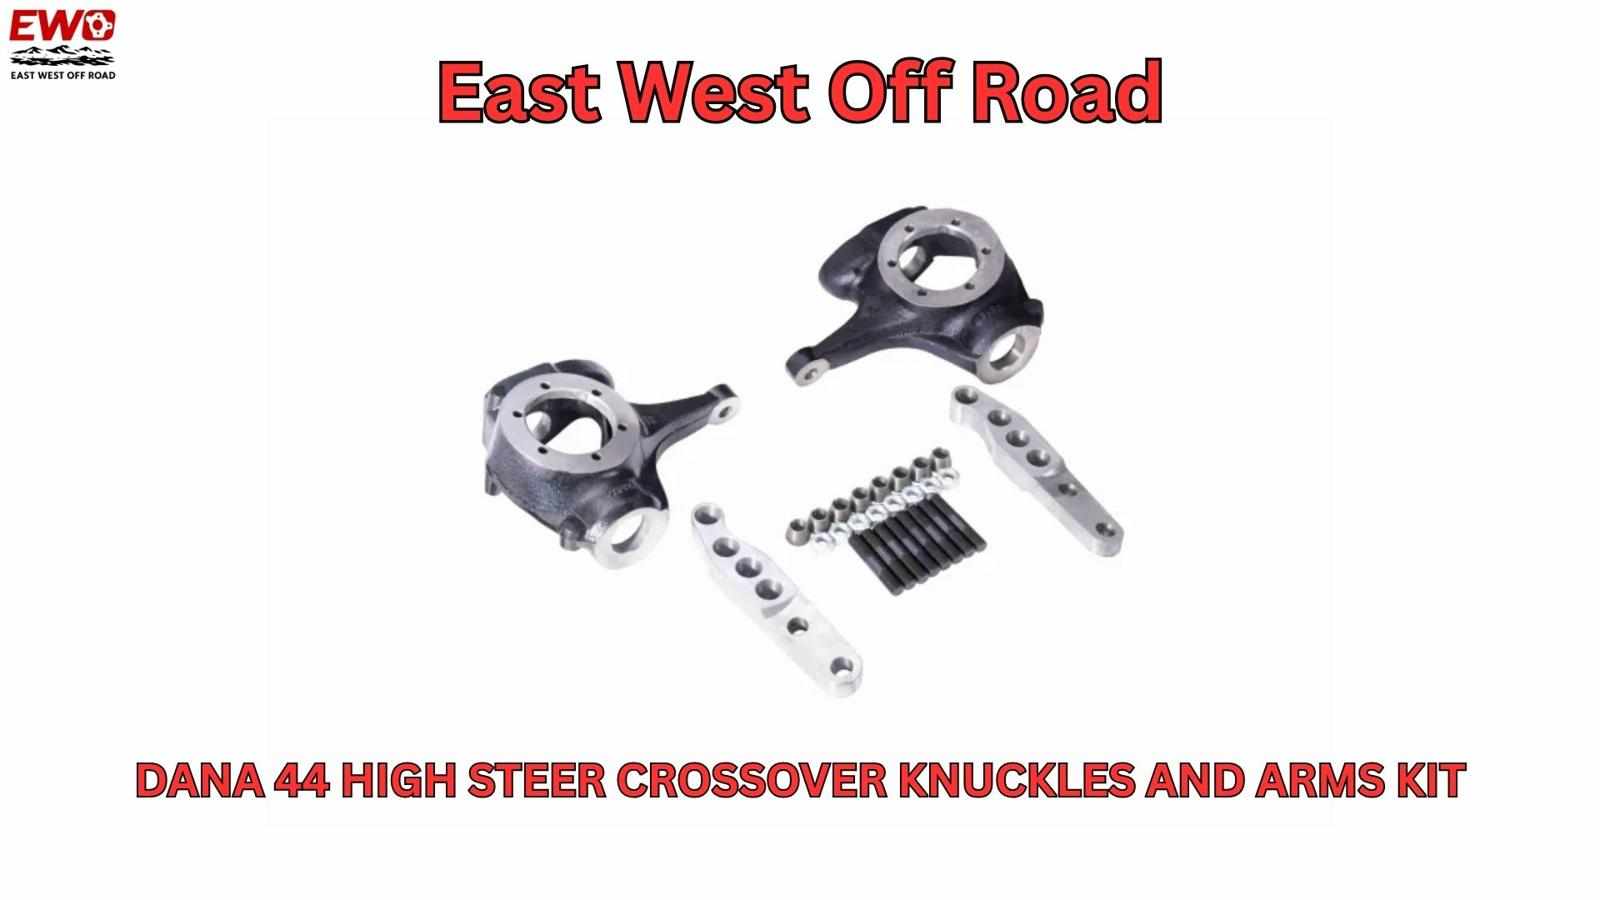
The connection between links and the chassis or axle is a high-stress pivot. This brings up the classic debate of heim joint vs tie rod end. Tie rod ends are sealed, maintenance-free units common in OEM steering but offer limited angular misalignment. For high-articulation suspensions, a chromoly heim joint is typically preferred. Its spherical bearing design allows a greater range of motion and, when properly specified, offers a much higher heim joint load rating. For heavy-duty applications, a rating like 76,200 lb load rating provides a substantial safety margin. When selecting, consider a complete 1.25 rod end kit that includes the joints and necessary hardware for a coherent system.
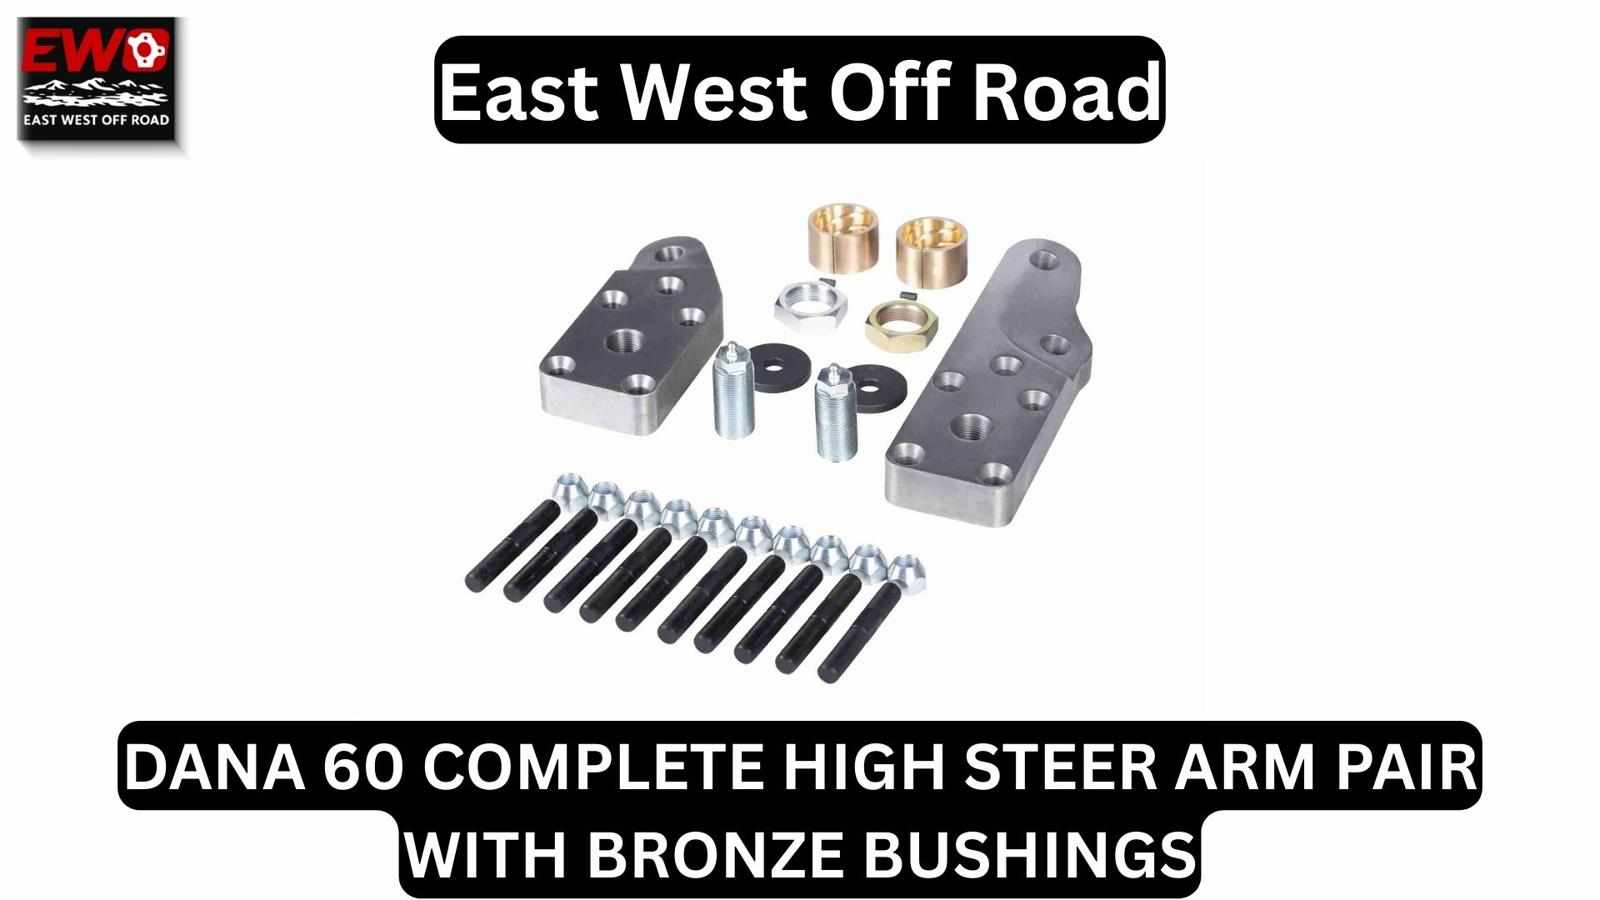
Fabrication Components: Adapters, Bungs, and Hardware
Heim joints must be securely attached to linkage tubing. This is done using a weld in bung 1.25, a threaded sleeve welded inside the tube. A hex head tube adapter design is highly recommended, as the hex flats allow for easy adjustment of the bung's position before welding, enabling precise control over final link length. To ensure these robust joints can operate smoothly at the extreme angles found off-road, high misalignment spacers 1.25 should be used at the mounting brackets. For builds requiring fine-tuning, using a 1.25-12 left hand thread adapter on one end and a standard thread on the other creates an adjustable turnbuckle. These weld-in tube adapter components are the unsung heroes that translate joint strength into a reliable assembly.
Steering: An Integrated System
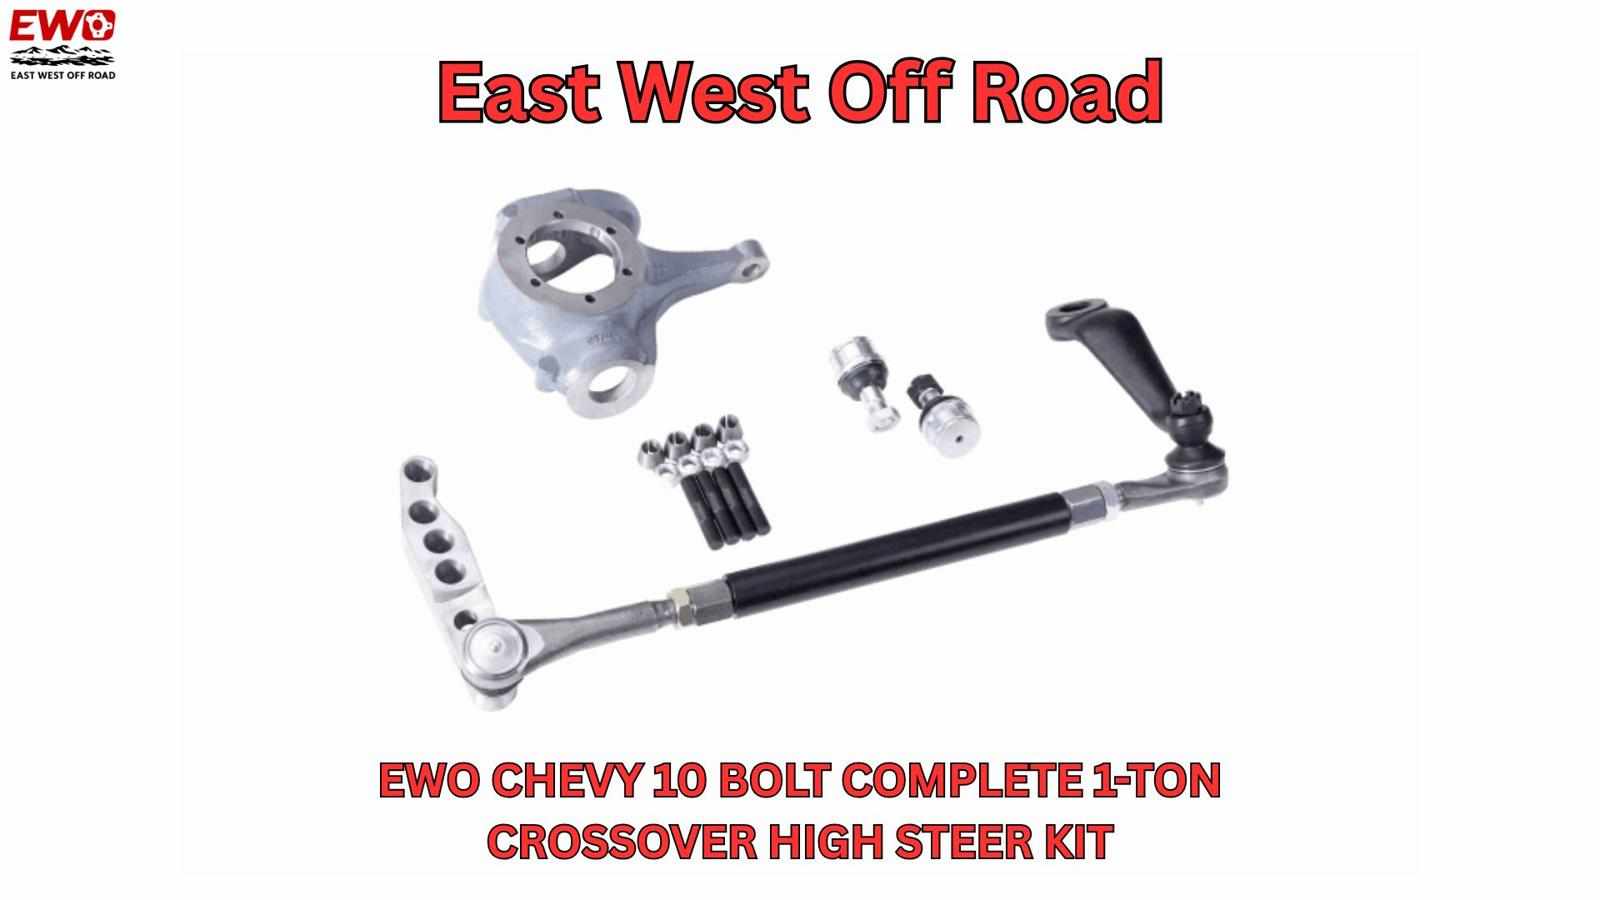
Suspension modifications almost always affect steering. A lift kit changes steering angles, often requiring an upgraded heavy duty steering kit to maintain proper function and strength. This kit, often part of a 1 ton steering upgrade for larger trucks, must work in harmony with the new suspension geometry to avoid bump steer. It will typically utilize similar high-strength chromoly rod ends and robust tubing to withstand the added leverage of larger tires. Viewing suspension and steering as one integrated system, rather than separate projects, is key to a successful build. For a unified approach, selecting compatible components from a comprehensive heavy duty off road steering kit resource is advisable.
Specification and Compatibility Checklist
Before purchasing, create a checklist:
Load Rating: Ensure the heim joint load rating exceeds the expected dynamic forces.
Thread & Size: Verify 1.25 heim joint specs like thread pitch (e.g., 1.25"-12) and overall dimensions.
Material: Opt for heat-treated chromoly rod ends for critical points.
Compatibility: Confirm adapter threads match the joints and that tubing inner diameter fits the bungs.
Adjustability: Plan for left-hand threads if on-the-vehicle adjustment is desired.
Investing time in understanding these aspects of off road suspension parts ensures you build a vehicle that is not only capable but also safe and durable for the long term.
For detailed diagrams, specifications, and application guides to assist in your component selection process, please visit:
https://www.eastwestoffroad.com/product/1.25%22-rod-end-kit
Frequently Asked Questions
What is the most common mistake beginners make when choosing suspension parts?
A common mistake is over-building for the intended use or, conversely, under-building to save cost. Putting extreme competition-level rock crawler suspension parts on a light-duty trail rig adds unnecessary cost and maintenance. Using mild-strength components for a heavy, hard-used vehicle invites failure. Honestly assess your vehicle's weight and your driving style to select appropriately rated components.
Can I mix and match parts from different manufacturers?
It is possible but requires extreme diligence. You must ensure all thread pitches match perfectly (e.g., all are 1.25"-12), that load ratings are similar, and that dimensional specs align. For simplicity and guaranteed compatibility, using a matched 1.25 heim joint kit from a single reputable manufacturer is often the safest and easiest path.
How important is suspension geometry versus component strength?
Both are critically important and interdependent. The most robust chromoly heim joint in the world cannot compensate for poor geometry that causes binding, bump steer, or unstable handling. First, design or select a sound geometric setup. Then, choose components with the strength to execute that design reliably under load.
Do I need a professional to install a link suspension kit?
While a knowledgeable DIYer with good fabrication skills (particularly welding) can install a kit, it is not a beginner bolt-on project. Proper alignment, welding critical suspension components, and setting pre-load require skill and understanding. If you lack experience in these areas, consulting or hiring a professional is a wise investment in safety.
How often should I inspect my suspension components after an upgrade?
Perform a thorough visual and physical inspection (checking for loose fasteners and play in joints) before and after every major trip. For heim joints, regular lubrication as per the manufacturer's recommendation is key. The first 100-200 miles after a new installation is a critical check-in period to ensure nothing has loosened or settled unexpectedly.


Write a comment ...